
2026/10/16
How to use FlashVSR online: upload, upscale, and download
Prepare an MP4, choose an output resolution, and check the credit cost before using FlashVSR. Includes demo frames and a practical review checklist.
Have an MP4 that looks soft when you open it on a larger screen? FlashVSR.com lets you upload it and choose a higher output resolution in your browser. You do not need to install the research model or configure a local GPU.
Before you upload, check the cost. Video upscaling uses credits for each second of footage, and even a short clip has a minimum charge. The 8 credits offered at signup do not cover the current 15-credit minimum for a 720p run.
Start with a short clip you can judge
Choose a few seconds with a clear subject and some movement. A face turning, fur moving, or a camera passing a building gives you more to inspect than a static landscape. Keep the original file so you can compare it with the result.
Here is a frame pair from the site's existing demo library. Look at the dog's chest, ears, and the grass beside its paws.

Original demo frame.

Enhanced demo frame. These are existing showcase images, not a new processing run for this tutorial. The source generator, processing settings, and runtime are not documented here.
The fur is more defined in the second image. That is useful to inspect, but a still cannot tell you whether those details remain stable as the dog moves. Review the video too before deciding which version to keep.
Open the online upscaler
Open the video workspace and use the workflow for an existing video. Sign in when prompted and select your MP4.
This workflow takes a video and a target resolution. You do not need a text prompt. If your source is in another format, export an MP4 from your editor first. Start with the original download from your video tool when you have it; a screen recording or a file saved from a messaging app may have lost detail already.
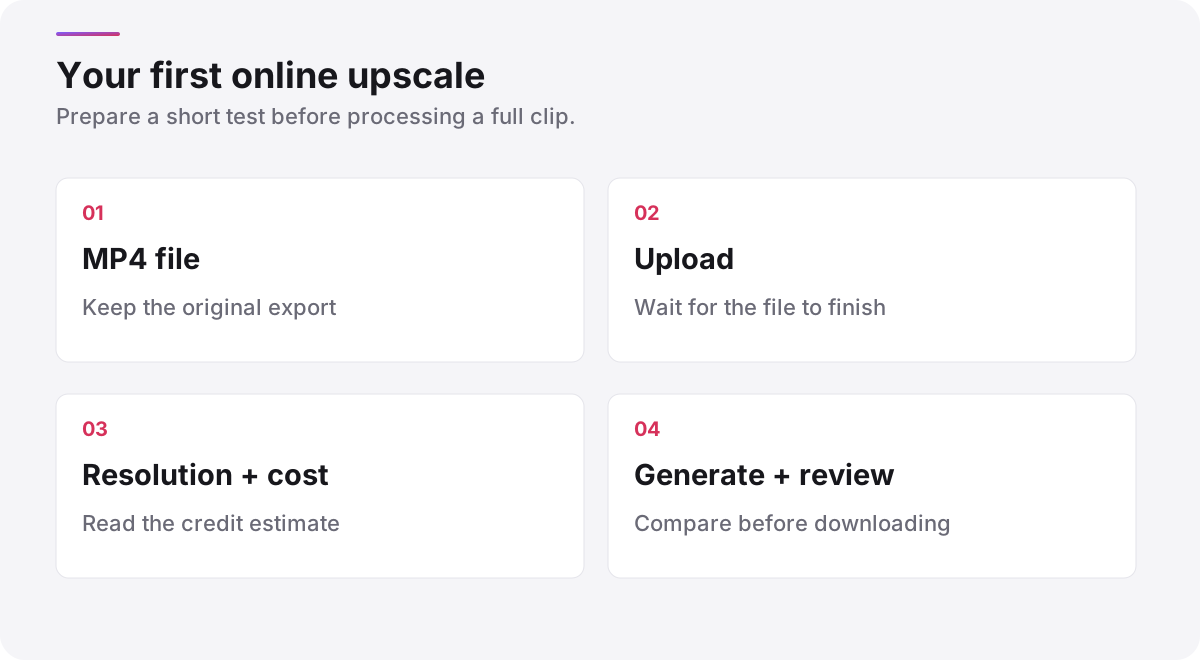
Workflow diagram, not a product screenshot.
Choose the resolution and read the estimate
The available output choices are 720p, 1080p, 2K, and 4K. Choose the size you need for the finished video. For a first comparison, 1080p may be enough; use 4K when that is your delivery target or you need to inspect the larger output.
The rates checked on October 16, 2026 are:
| Output | Credits per second | Example: a 5-second clip |
|---|---|---|
| 720p | 5 | 25 credits |
| 1080p | 7.5 | 38 credits |
| 2K | 10 | 50 credits |
| 4K | 13 | 65 credits |
Duration is rounded up to a whole second, with a 3-second billing minimum. The final credit amount is also rounded up. For example, 5.1 seconds at 720p costs 30 credits; 5 seconds at 1080p costs 38.
Read the estimate after your upload finishes. Before a file is uploaded, the interface uses the minimum duration, so that number is not a quote for your full video. The amount shown for your uploaded file is the one to review before starting.
Generate, then watch the result in motion
Start the run with Generate. When the task completes, open the result and use its download control to save the output. Keep it beside your original rather than overwriting the source.
Watch both versions at the same display size. Pause on a face or a textured area, then play that section at normal speed. Check whether hair, lettering, and thin edges stay consistent across frames. A sharper paused image can still be distracting if the new detail flickers.
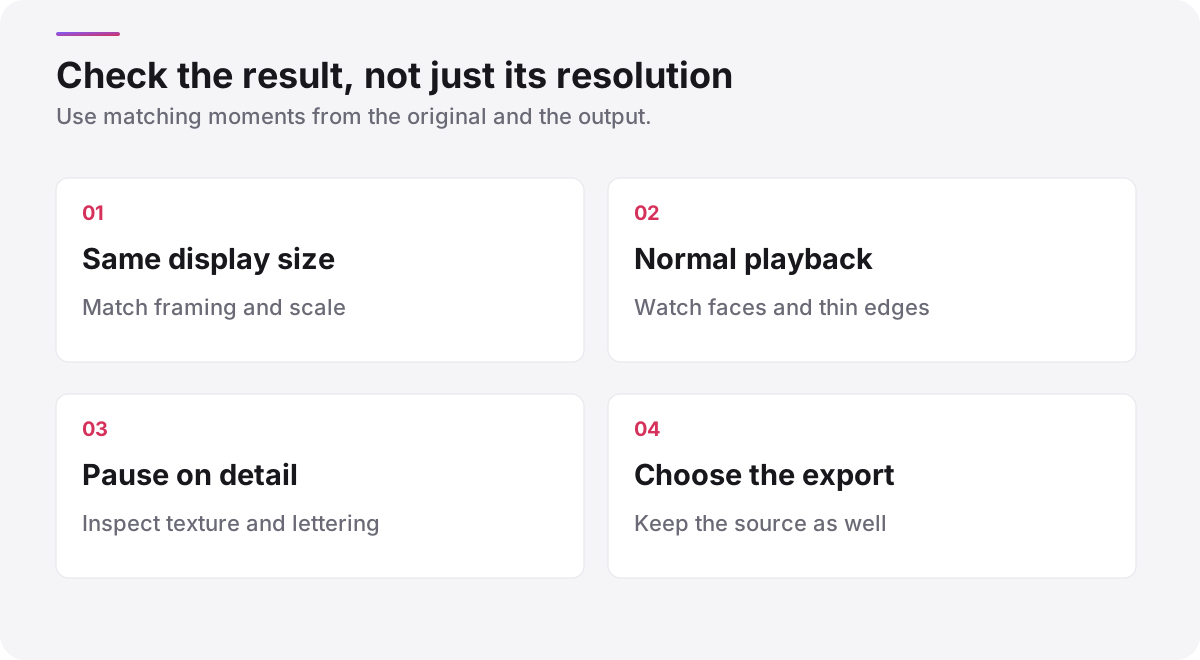
Use the same section of footage in both versions.
If the input contains a changing face, an extra finger, or a broken object, return to the source edit or generation. Treat upscaling as a finishing step. It is not a dependable way to repair the action in a shot.
Which FlashVSR are you using?
FlashVSR.com is an independent hosted service. The OpenImagingLab research project provides the open-source framework; it has a separate setup process. The credit prices above apply to this website.
For AI-generated footage, read how to prepare and review a 4K upscale.
Autor
Kategorien
Weitere Artikel

Anleitungen
Nano Banana 2.1 im Video-Workflow: Referenzbilder gezielt prüfen
Prüfe Bildausschnitt und Kontinuität, teste die Bewegung und entscheide erst danach über das Video-Upscaling.
Anleitungen
Drei Einstellungen für einen Café-Kurzfilm planen
Eine konkrete Planung für eine verregnete Café-Szene: Referenzen, Bewegung, Kontinuität und abschließende Bildverbesserung.

Anleitungen
How to upscale AI-generated video to 4K with FlashVSR
Choose a usable AI video clip, compare detail in existing FlashVSR demos, and plan a short 4K test before spending credits on a longer export.