2026/10/07
Nano Banana 2.1 for video creators: start with better reference frames
How to use an image-model update in a video workflow, from reference-frame review to motion tests and final video upscaling.
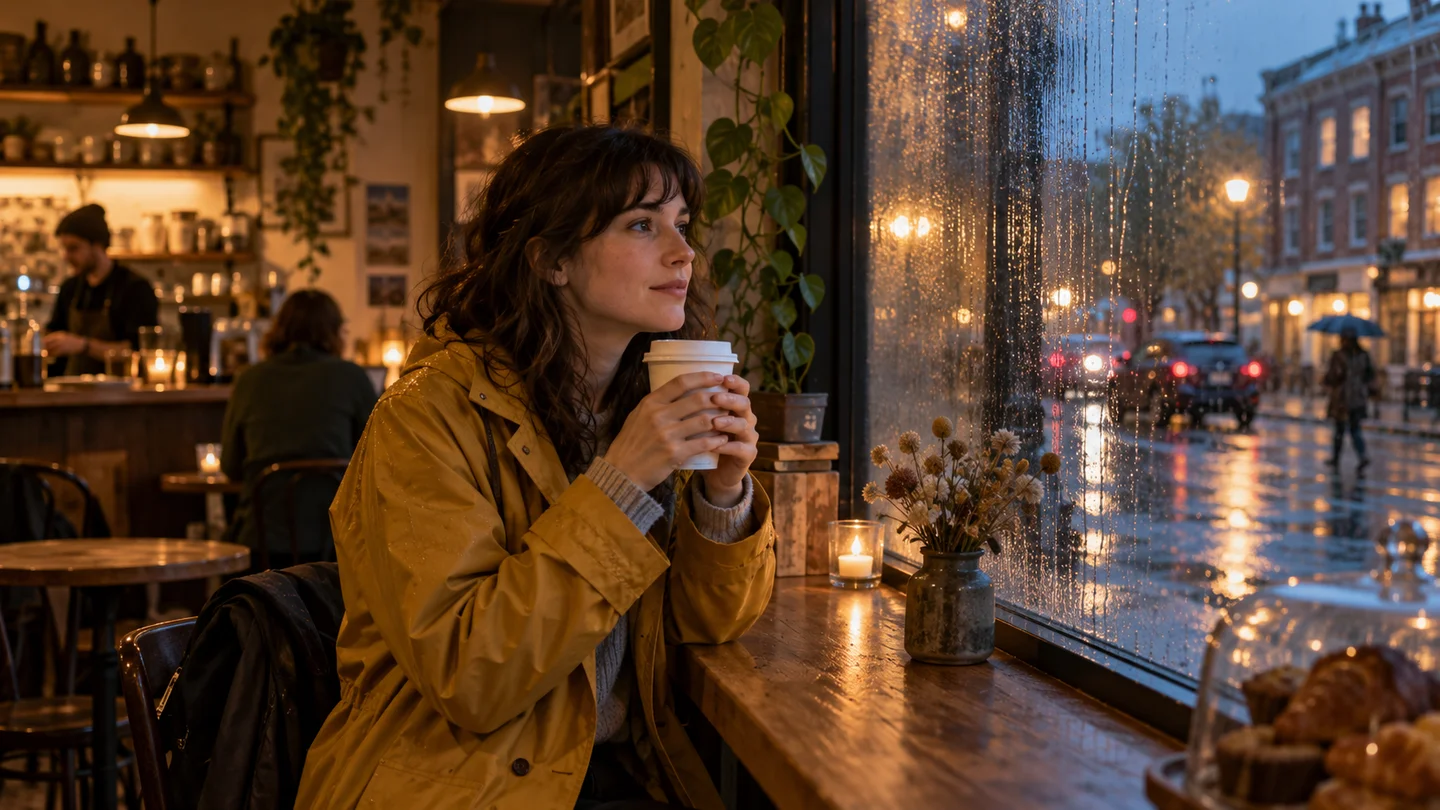
Illustration: generated with Codex for this tutorial. Not a Nano Banana 2.1 output or a product screenshot.
A good reference frame gives a video model something concrete to work with. It does not guarantee a good clip. A face can look convincing in the first frame and change as soon as the subject turns; a cup can sit naturally in a still and lose its shape in motion.
Google’s October 6 Nano Banana 2.1 announcement makes reference-image planning worth revisiting. For a video creator, the useful question is whether an image fits the shot you intend to animate.
Pick a frame that leaves room for the action
Take the rainy café scene illustrated here. If the action is “lift the cup and look outside,” the starting image should show the cup, both hands, and enough of the upper body to support that movement. A close portrait that cuts off the wrists may look elegant but gives the animation less information.
Avoid placing the face at the edge of a widescreen crop. Leave space in the direction of the gaze. If the subject should walk out of frame, include the relevant doorway or path. The composition should support the next action rather than just the first frame.
The illustration was made with Codex for this article. It demonstrates a shot brief; it is not evidence of Nano Banana 2.1 video performance. Nano Banana 2.1 is an image model, and an image-to-video step requires a separate video tool.
Inspect three reference frames before animating
Read these frames from top to bottom: arrival, a pause over coffee, then departure. The mustard coat, curly hair, white cup, rainy street, and warm cafe lighting give you concrete continuity anchors.
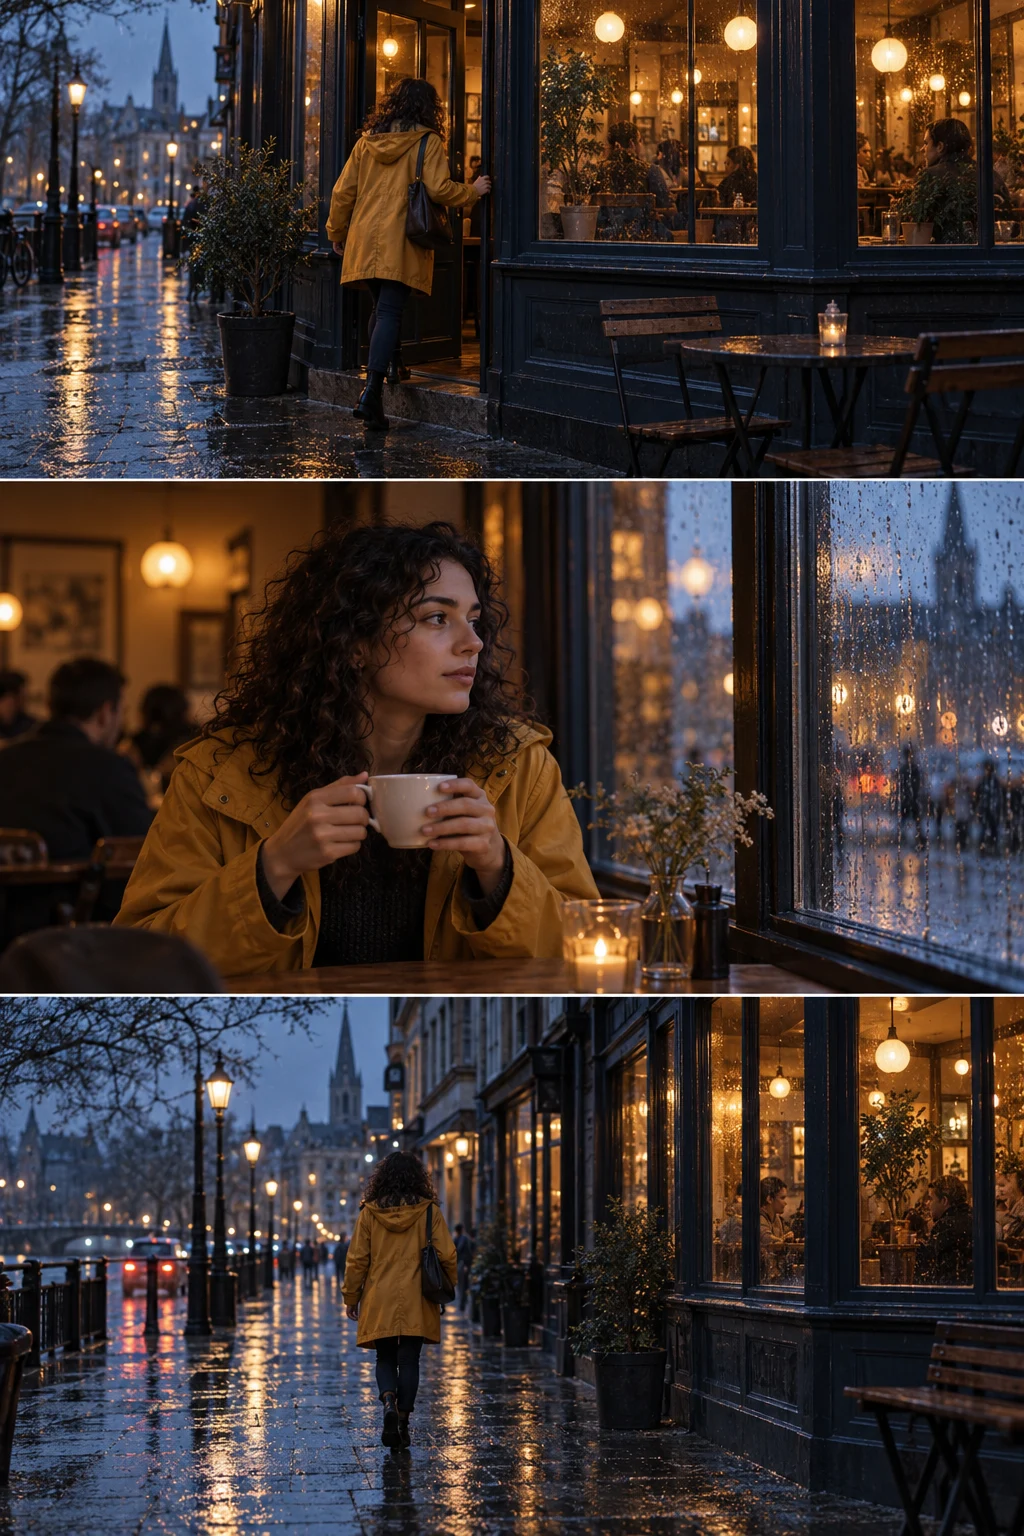
Codex-generated tutorial example; not a Nano Banana 2.1 model result or a product screenshot.
Prompt to adapt
Three reference frames for one rainy cafe scene. Keep the same curly-haired woman in a mustard coat. Frame 1: wide exterior, entering the cafe. Frame 2: medium interior, holding a white cup beside the window. Frame 3: wide exterior, walking away. Keep the weather and blue-hour lighting consistent. No captions.
What to inspect
Compare clothing and hair across all three frames. Then compare window shapes, rain, and the direction of the street. These stills cannot establish motion quality; inspect flicker and changing faces only on an actual video export.

Workflow diagram: a proposed sequence, not a recorded product run.
Keep the image brief and motion brief separate
The image brief describes what is already visible: the mustard coat, white cup, wet glass, warm café lighting, and evening street. The motion brief describes what changes: a slow head turn, a small cup movement, or a gentle camera push.
Image brief: a woman in a mustard raincoat holding a white cup beside
rain-covered café glass; warm interior, blue evening street outside.
Motion brief: a restrained head turn toward the window and a slow
camera push; keep the cup, coat, face, and background layout stable.
Start with one modest action. Combining a walk, a turn, a sip, and a moving camera makes failures harder to diagnose. If the first clip distorts the hands, simplify the hand movement before changing the entire scene.
Compare frames before comparing resolution
Scrub the clip at the start, middle, and end. Look for face drift, sleeve changes, cup edges, reflections, and unwanted movement in the background. Watch at normal speed too: a single plausible frame can hide a jump or a repeated motion.

Use these checks on your own export.
Only after choosing a usable clip should you consider enhancement. FlashVSR’s video workspace can be part of that finishing step. Video upscaling can improve presentation, but it should not be treated as a repair for changing identity, broken gestures, or an incorrect shot. Keep the original clip for comparison and inspect the enhanced export at the intended delivery size.
Where the image stage fits
If you need to build a reference first, explore Nano Banana 21’s image workspace and check the available model label. This independent workspace’s model selector is the practical source of availability; this article does not assert that its branding proves an exact Google endpoint.
For the full sequence, read our three-shot café planning tutorial. Then return to the FlashVSR model directory to inspect the finishing options actually offered. Save the accepted still, motion request, original clip, and enhanced export as separate files. Each has a different job when the sequence needs another revision.
작성자